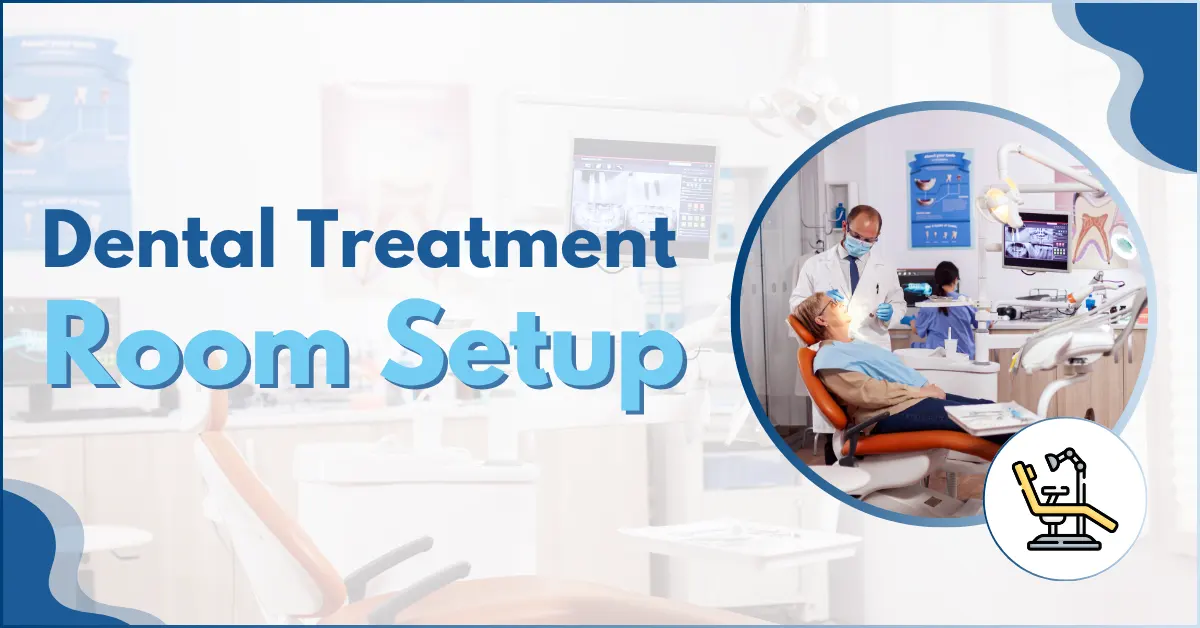
When it comes to setting up your dental clinic, the treatment room is the first thing that creates a big impact.
From treating patients and building trust to keeping your team comfortable during long procedures, this space carries a lot of weight.
That’s why it is important to design your dental treatment room in a way that balances both functionality and a warm patient experience.
I have compiled this blog to guide what you should consider before dental treatment room setup, which covers both if you are opening a new clinic, renovating an old one, or simply want to make things more efficient and welcoming.
But I have not just stopped at treatment room setup; I have also put together more helpful blogs that can guide you as you set up and grow your dental practice. For example
Dental Treatment Room Setup: 11 Important Steps
These 11 steps will cover everything you must consider while doing dental treatment room setup :
1. Know Your Goals Before You Start
Every dental clinic is different. Some serve children, others focus on cosmetic treatments, while some manage a mix of everything. So, before anything else, think about what you want out of your treatment room.
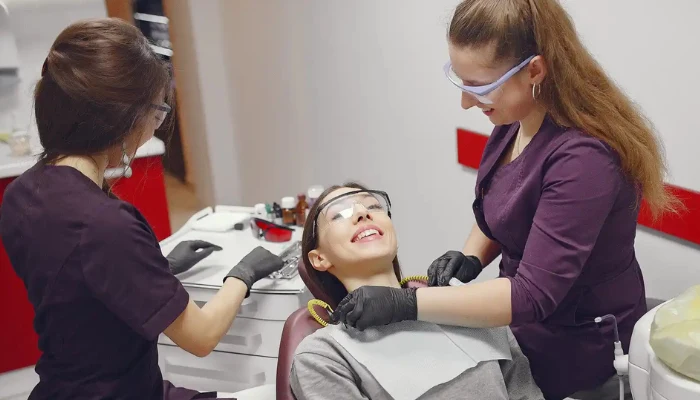
For example, consider that do I usually work alone or with an assistant? This affects everything from where your tools go to how much space you need. Here are three types of work processes
DUO: Four-Handed Work
You work with an assistant who helps during the procedure. They manage suction, hand you tools, and prepare materials. Your room should make it easy for both of you to move and reach everything without twisting or getting in each other’s way.
SOLO: Two-Handed Work
You work alone, so your setup needs to be smart. Tools and materials should be close by, within your reach. You’ll need a layout that saves time and helps you stay focused.
DUO-SOLO: Switching Between Both
You sometimes work alone and sometimes with an assistant. This is the most flexible setup. Use moveable carts and adjustable lighting so the room works well no matter who’s in it.
2. Choose the Right Layout for Your Dental Treatment Room
Now, talk about the dental clinic space requirements. This is basically how people enter and move around in the room. It plays a big role in how easy it is for you, your assistant, and your patient to interact and feel at ease.
Here are three common types:
1. H Style
This layout has four entry points, one at each corner of the room. It allows for quick movements between different rooms. Dentists working in larger clinics often prefer this because it saves time.
However, it also takes up more space and may cost more to build. It’s great for speed, but may not feel very private for patients.
2. U Style
This one has two openings, either at the head or foot of the patient chair. It provides a nice balance between privacy and easy movement.
It lets you place a window or screen in front of the patient, making the space feel more open and calming.
3. Y Style
This is the most private layout with just one entrance. It works well if patient privacy is your top concern. But it may slow down your workflow a little if you have a busy schedule or multiple rooms.
3: Use Your Dental Room Space Wisely
You do not need a giant room to provide great dental care. A small, well-planned room can do wonders. Think of it this way: less space means less time wasted moving around, less clutter, and more control.
Make sure there’s at least 60 centimeters of free space behind the patient’s chair so you can work comfortably, especially if you are sitting in the 12 o’clock position. Also, make sure the assistant can reach the worktop just by turning on the stool. That saves time and energy.
If your room is planned smartly, you might even have space to build an extra dental operatory layout later.
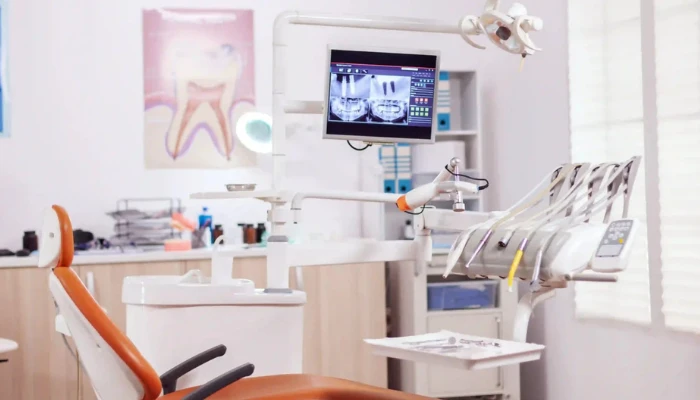
4. Select the Right Equipment for Your Dental Treatment Room
This is where many people make mistakes. They invest heavily in stylish furniture but ignore the tools that matter the most. Don’t do that. Let’s break it down.
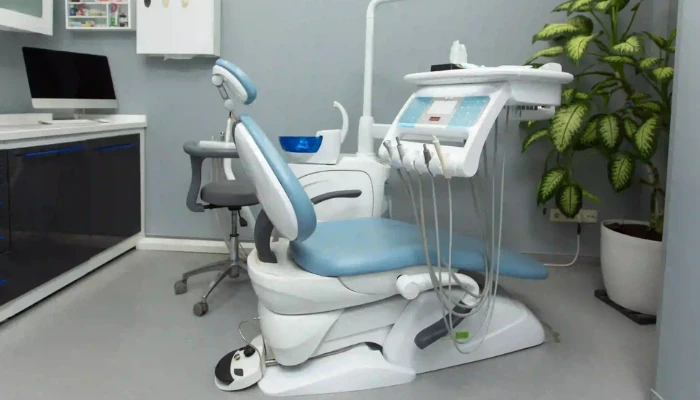
Patient Chair
This is the first thing your patient notices and the place where they spend most of their visit. Choose something comfortable and durable. Look for good cushioning and smooth movements.
Your Chair and Assistant’s Stool
Make sure both chairs support good posture. You’ll be sitting for hours, and the wrong chair can cause long term health issues.
Operatory Light
Good lighting is essential. It should be bright but not harsh. You should be able to adjust it easily without interrupting your work.
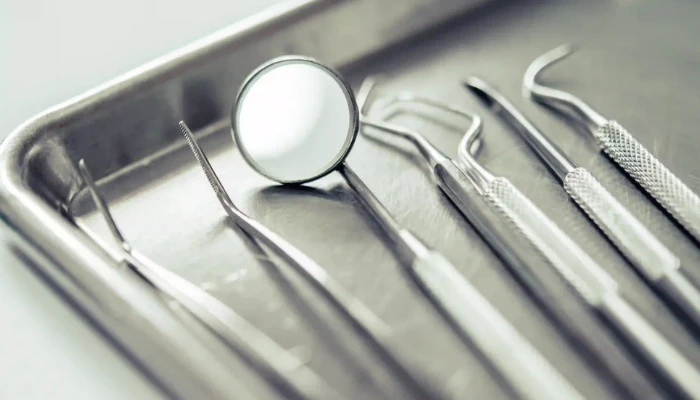
Hand Tools and Instrument Table
Place your hand tools where both you and your assistant can reach them without twisting or turning. Ideally, keep them near the patient’s temple, not off to the side. This makes the treatment smoother and more relaxed.
Storage and Cabinets
Keep everything organized. A clean room makes a great impression on patients and also saves time. Use drawers or rolling carts that you can easily move when needed.
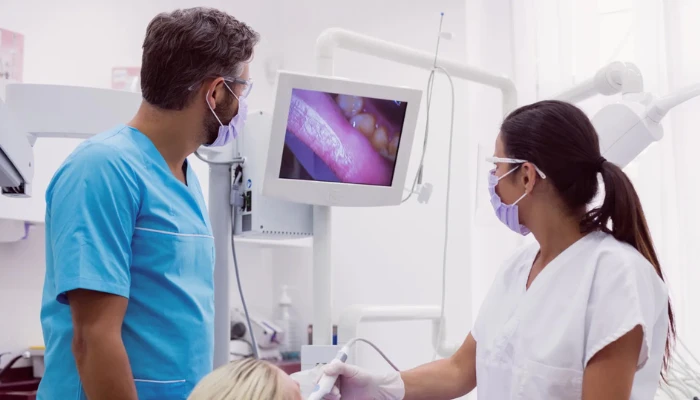
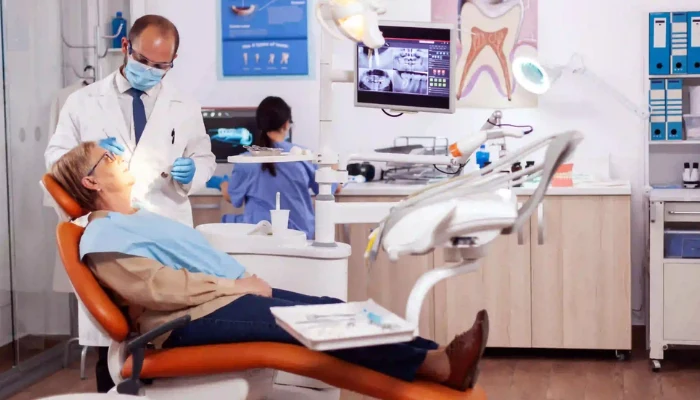
Monitor and Computer
Show patients their X-rays or treatment plans using a screen. It’s a great way to involve them in the process and build trust.
5. Make Your Dental Treatment Room Comfortable to Work In
The most common cause of burnout in dentistry? Bad posture. Avoid it by designing your room with comfort in mind.
These little changes go a long way in protecting your body and making sure you can practice dentistry for years to come.
6. Use the Power of Modern Technology in Dentistry
If you want to build a dental practice that patients keep considering for the long run, you have to invest in technology. Not just because it looks impressive, but because it actually makes your life easier.
Invest in modular delivery systems so you can upgrade easily in the future. Trust me, technology that saves time and improves treatment is always worth the cost.
7. Support Your Dental Assistant
Your assistant is your partner. Make sure the treatment room is designed in a way that makes their job easier, too.
Keep their tools and trays behind or beside the patient, not hanging awkwardly from the dental chair. Their worktop should be high enough so they don’t have to bend too much.
Rolling carts are a great idea. They can be moved around based on need, and they’re easy to clean and maintain.
8. Hide the Mess of Your Dental Treatment Room
Wires, suction tubes, foot pedals, all these things can turn a clean room into a cluttered mess. Patients don’t want to see that. Hide the wiring using junction boxes placed in the wall or under the floor.
Try to keep the foot control tube out of the walking area to prevent tripping. A clean room doesn’t just look nice, it feels professional and makes patients feel safer.
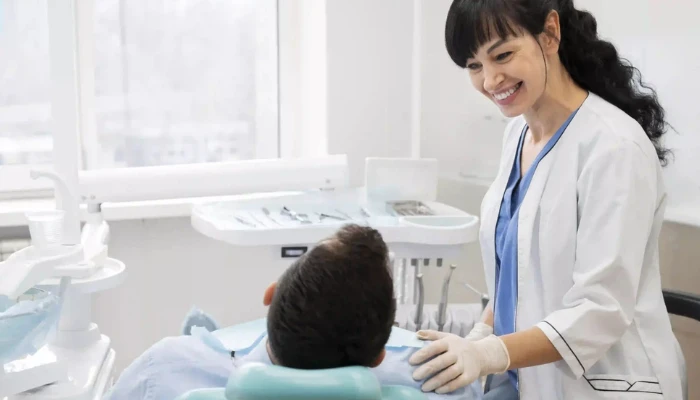
9. Create a Great Patient Experience

At the end of the day, your patients are what make your practice grow. So give them an experience they’ll remember in a good way.
These small touches make a big difference in how patients feel during their visit. A relaxed patient is easier to treat and more likely to return.
10. Plan Cable and Utility Management for Your Dental Treatment Room
Messy wires and cables make your room look unprofessional. Hide cords, foot pedals, and control boxes using clean design tricks like umbilical cable routing systems that lead everything neatly into junction boxes. This keeps your space safe, clean, and modern-looking.
Think about how everything connects behind the scenes. Use in-wall, in-floor, or above-floor dental junction boxes to keep utilities hidden.
You can also use self-contained carts that already have air and vacuum systems built-in; these are perfect if you’re renovating an old room or adding a treatment area where there’s no plumbing.
11. Hire a Professional Design Team for Your Dental Office

Sometimes it’s best to let the experts step in. Pick a team that has real experience with dental offices. They should understand utility setups, ergonomic layouts, and tech integration.
Make sure they know if you’re renovating an old space or building something new from scratch. Choose someone who can turn your clinic vision into a reality.
Dental Room Requirements Checklist
| Category | Item |
| Essential Equipment | Dental chair (ergonomic, adjustable) |
| Operator stool with lumbar support | |
| Assistant stool (for four-handed work) | |
| Overhead dental light (adjustable, shadow-free) | |
| Dental delivery system (air, water, suction) | |
| X-ray viewer or monitor | |
| Cabinets or mobile storage carts | |
| Sink with hands-free faucet | |
| Technology | Computer system or monitor for patient records |
| Intraoral camera | |
| Digital imaging setup (X-ray or sensors) | |
| Backup power for critical devices | |
| Utilities | Proper plumbing for suction and water lines |
| Electrical outlets in key areas | |
| Cable and cord management (junction boxes, concealed) | |
| Ergonomics & Layout | 28-30 inches around chair for movement |
| Easy access to tools and materials | |
| Clear assistant and doctor zones | |
| Patient Comfort | Minimal visible tools/instruments |
| Calming lighting and neutral colors | |
| Entertainment (TVs, music, artwork, etc.) |
How Many Square Feet Do You Need for a Dental Office?
The amount of square footage needed for a dental office largely depends on the number of operatories (treatment rooms) and the desired office layout. The ADA suggests planning space based on your future growth (around 10 years ahead).
But general guidelines are as follows:
Final Thoughts
Most commonly, when dentists plan a dental treatment room setup, they just think about getting a good chair, a light, and some tools in there. But it’s not that simple.
Your dental room is where you treat patients, build trust, and spend hours every day. If it’s not set up the right way, it starts to affect everything, your comfort, your team’s workflow, and even how patients feel.
So think beyond that. Start with clear goals and design your room around how you actually work, solo or with an assistant. Keep tools within reach and avoid clutter.
And don’t forget the vibe, a clean, calm room makes patients feel safe. In the end, a smart setup makes work easier and patients happier. You can also explore ideas of dental clinic design for small space on pinterest